Mousecape is a popular macOS tool designed for users who want to customize their cursor appearance. It works through “capes,” which are pre-designed or custom cursor themes that can entirely change the way your pointer looks on the screen. However, many users face the issue where applying a cape does not change their cursor as expected.
This guide explains the possible reasons behind this issue, from system permissions to compatibility problems. If your cursor refuses to change after applying a cape, understanding the basics of Mousecape and how macOS handles cursor customization is essential. This article will walk you through each step to solve the problem effectively.
How Mousecape Works: A Quick Overview
Understanding Mousecape Basics
Mousecape functions by allowing macOS users to modify their system cursors using custom designs called capes. A cape is a package containing images for various cursor states, such as the arrow, text select, and loading indicators. Once applied, these capes overwrite the system’s default pointers visually without altering core macOS files permanently.
- Key Terms: Cape, Applying, Resetting
- Cape: A collection of custom cursor assets in .cape format.
- Applying: The action of selecting a cape within the Mousecape app and activating it.
- Resetting: Removing the applied cape to return to macOS’s default cursor.
Permissions and macOS System Handling
Mousecape requires Accessibility Permissions to function correctly because macOS protects UI elements. Without these permissions, capes will not apply, and your cursor will remain unchanged.
Common Reasons Your Cursor Isn’t Changing
Missing Accessibility Permissions
macOS requires explicit permission for any app attempting to control or alter the cursor appearance. If Mousecape lacks these permissions, cursor changes will not appear.
How to Grant Accessibility Permissions:
- Open System Preferences
- Navigate to Security & Privacy > Accessibility
- Ensure Mousecape is checked and allowed
Without this permission, macOS will block any cursor modifications.
Compatibility Issues with macOS Versions
macOS frequently updates (Sonoma, Ventura, etc.), often tightening security or modifying how UI elements behave. These changes can temporarily break Mousecape’s functionality until updated. Always verify you are running the latest Mousecape version compatible with your macOS.
Incorrect Application of the Cape
A common mistake involves forgetting to click “Apply Cape” after importing it. Additionally, using improperly built .cape files can prevent the changes from taking effect. Always ensure you complete the application process and verify the file integrity.
Corrupted or Incompatible Cape Files
Not all .cape files are made equally. Downloaded capes from unreliable sources might be broken or formatted incorrectly, causing failure when applied. Always use capes from trusted communities or the official Mousecape website.
Advanced Troubleshooting Steps
Step 1: Reset Mousecape and macOS Cursor Settings
Begin troubleshooting by removing the active cape within Mousecape. Restart the app and verify no cape is applied. If the cursor remains unchanged, reboot your Mac to refresh system cursor settings.
Reboot System Cursor Cache
Sometimes macOS caches the cursor appearance. Restarting your device can help clear this cache and allow Mousecape to apply changes properly.
Step 2: Reinstall Mousecape Cleanly
Corrupted installations can cause malfunctions. Follow these steps:
- Delete Mousecape from Applications
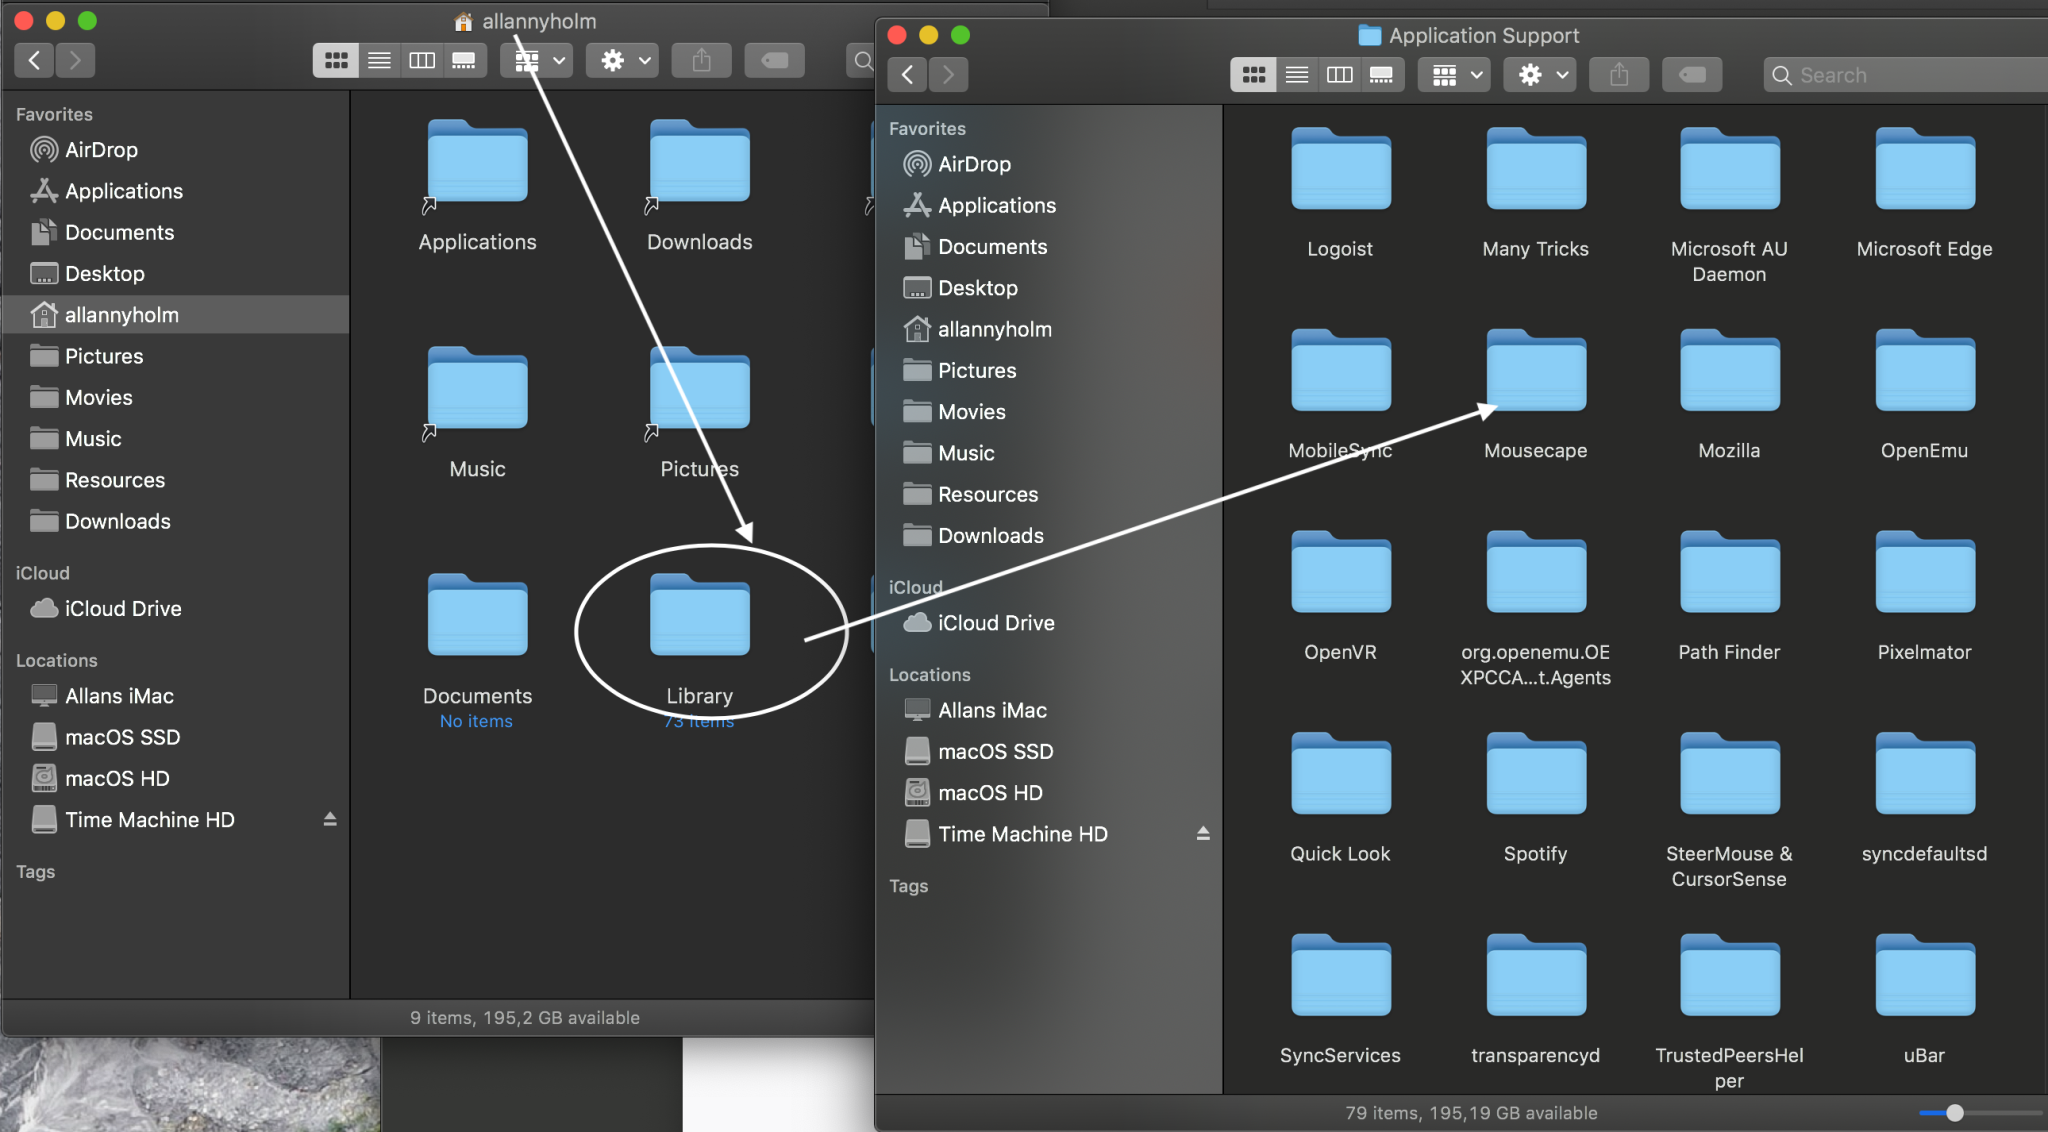
- Remove related files in ~/Library/Preferences/com.apple.mousecape.plist
- Download the latest version from https://mousecape.com/
- Reinstall and reapply your cape
Step 3: Rebuild or Redownload Cape Files
If a downloaded cape isn’t working, build your own cape from scratch to confirm it functions. Re-downloading from a reliable source also resolves compatibility issues.
Step 4: Check for Conflicting Software
Applications like screen recorders, remote desktop tools, or accessibility apps may interfere with Mousecape. Disable or quit these apps and attempt to reapply the cape.
Frequently Overlooked Fixes
Simple Fixes to Try
- Restart your Mac after applying a cape. This refresh often resolves cursor visibility issues.
- Verify the .cape file structure. Ensure the file isn’t incorrectly nested within folders, as this can disrupt the application process.
- Confirm you are testing on your primary display. In multi-monitor setups, some cursors only appear on the main screen.
These minor oversights often resolve the issue without needing advanced troubleshooting.
Preventing Cursor Issues in the Future
Best Practices for Mousecape Stability
- Keep your macOS and Mousecape updated regularly. Updates ensure compatibility and reduce the likelihood of issues after system changes.
- Always download capes from trusted websites or communities. Poorly built capes increase the risk of cursor problems.
- Maintain backups of any capes you’ve created or downloaded. This allows for quick recovery in case files become corrupted.
- Monitor system updates that might affect how macOS handles UI customization. Join forums or follow Mousecape’s updates for guidance on potential adjustments after big macOS updates.
When to Contact Support or the Community
If all troubleshooting fails, the Mousecape GitHub Issues Page is the best place for official support. Provide detailed information, including:
- macOS version
- Mousecape version
- Screenshots of permissions and settings
Engage with macOS customization communities for additional help. Often, others have faced and resolved the same issue and can provide fast, practical advice.
Sharing detailed information increases the likelihood of getting helpful and accurate solutions quickly.
Conclusion
Mousecape remains a powerful tool for cursor customization on macOS. Most issues stem from permissions, compatibility, or user error, and can be resolved with simple troubleshooting. Following best practices ensures a smoother experience. Utilize community support when necessary for quick solutions.