
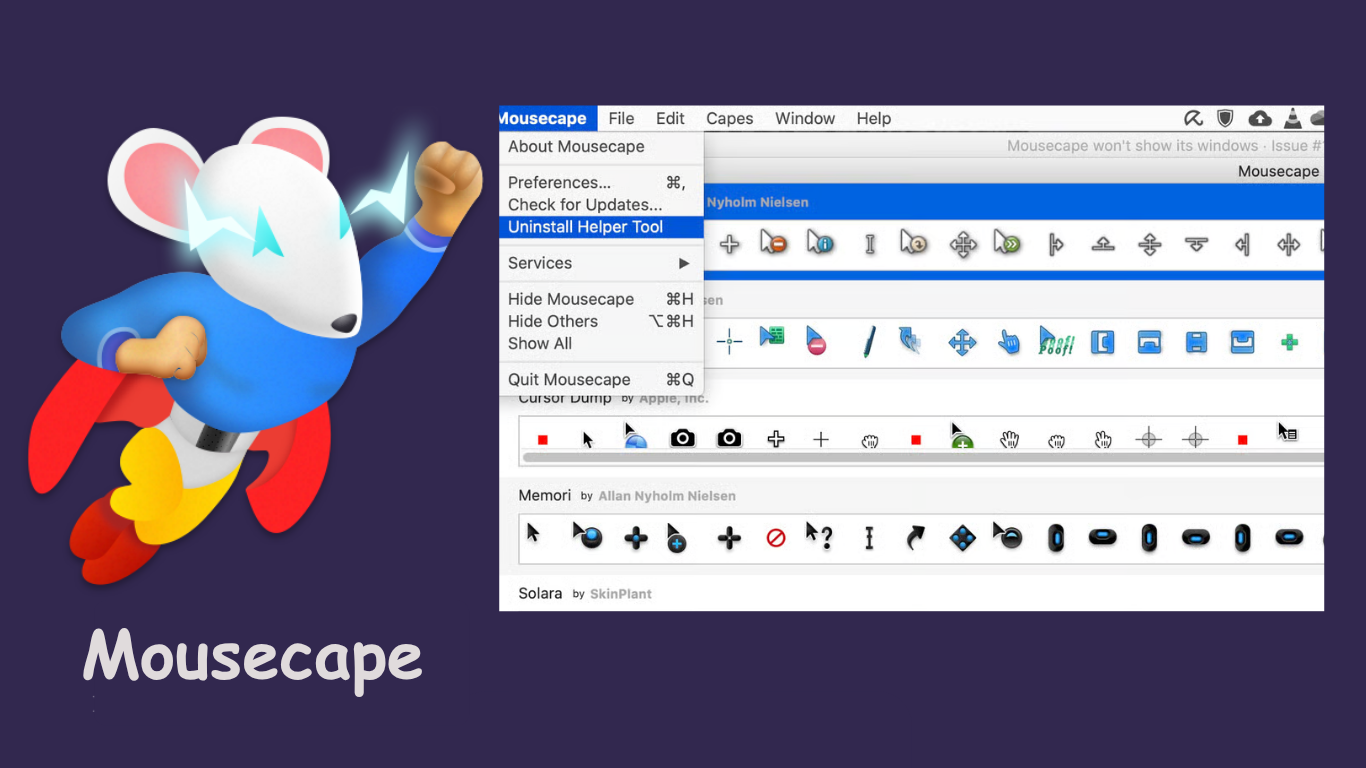
Customizing macOS cursors is a fun way to personalize your user experience. Mousecape is one of the most popular free tools that allows users to modify and replace the default cursor with custom cursor sets known as “capes“. It gives macOS a refreshed look through unique cursor designs without making permanent changes to the system.
However, not every user wants to keep these changes forever. Some face performance issues, cursor glitches, or simply prefer the clean look of Apple’s default macOS cursor. Resetting back to default becomes necessary in these cases. This guide explains the most effective methods for removing or resetting Mousecape on macOS.
Understanding Mousecape and How It Works
What Is Mousecape?
Mousecape is a macOS customization application designed specifically for changing your system’s cursor appearance. It operates by applying graphical overlays, known as “capes,” to replace the default macOS pointer with user-created designs. Users can import .cape files directly through the app, making the customization process simple and accessible.
Mousecape does not interfere with macOS system files at a root level. It applies changes at the user level through Accessibility permissions and overlays, which is why the effects are reversible. This makes it one of the safest ways to personalize your Mac without risking permanent system issues.
Unlike apps that require system hacks, Mousecape keeps the original cursor intact underneath the applied cape, so resetting is always possible.
Why Users Want to Remove or Reset Mousecape
Many users initially enjoy Mousecape but later seek to revert to the default cursor for various reasons:
- Bugs or glitches with certain custom capes causing visual errors or cursor misalignment
- Performance slowdowns on specific macOS versions when third-party overlays are active
- Preference for Apple’s original macOS cursor design after experimentation
- Preparation for resale where restoring factory settings and default visuals looks more professional
Reverting ensures system consistency and restores the user’s familiarity with the default Apple interface.
How to Remove or Reset Mousecape
Quick Steps to Remove a Cape in Mousecape
Using the Mousecape App Properly
- Open the Mousecape application from your Applications folder
- Identify and select the active cursor cape currently applied
- Click the “Remove Cape” option within the app interface
- Restart your Mac to ensure the default macOS cursor is restored fully
This method is the quickest and typically resolves the issue for most users.
Reverting Manually via System Preferences (If Issues Persist)
Sometimes cursors do not reset immediately due to permissions conflicts. Follow these manual steps:
- Open System Preferences > Accessibility
- Locate Mousecape under the Accessibility apps list
- Disable Mousecape’s permissions by unchecking the app
- Log out of your Mac user account and log back in
- Check if the default macOS cursor has returned
Manual disabling through Accessibility can help clear stuck overlays or cursor artifacts left behind by Mousecape.
Uninstalling Mousecape Entirely
When cursor resets fail through standard methods, full removal may be necessary:
- Delete the Mousecape app from the Applications folder
- Remove associated .cape files from your Downloads, Desktop, or Library folders
- Reset PRAM/NVRAM for a clean slate (Shut down > Power on > Hold Option + Command + P + R until reboot chime)
This method removes all traces of Mousecape, ensuring the system reverts entirely to default cursor behavior without lingering files.
Troubleshooting Common Issues
Why Your Cursor Might Not Reset Immediately
macOS caching can sometimes retain previous cursor visuals even after Mousecape has been removed. Users may also face issues if:
- Mousecape remains active in the background despite removal attempts
- Accessibility permissions were not fully revoked or refreshed
- macOS system cache hasn’t been flushed via reboot
Stuck cursors often relate to how macOS handles graphical caching combined with permissions not being updated properly.
Advanced Reset Solutions
PRAM/NVRAM Reset
Performing a PRAM reset can clear lingering cursor settings cached within the system’s memory. This process refreshes display and input configurations.
Safe Mode Boot and Re-check Cursor
Boot your Mac in Safe Mode to disable third-party overlays temporarily. Verify if the default cursor reappears. If so, normal restart completes the reset.
Reapplying a Blank/Default Cape Before Removal
Apply a blank or transparent cape manually within Mousecape before removing the app. This forces the app to overwrite any custom cursor visuals, simplifying the reset process.
Additional Tips for Mousecape Users
- Best Practices for Using Mousecape in the Future
- Keep a backup .cape of Apple’s default cursor for easy restoration
- Only download verified, tested cursor capes to reduce the risk of visual bugs
- Regularly update Mousecape to match macOS updates, ensuring smooth performance
Following these practices minimizes future issues with resetting or cursor behavior.
Alternatives to Mousecape for Cursor Customization
While Mousecape remains popular for its lightweight and non-invasive design, alternatives exist:
- macOS Accessibility Options offer slight cursor size adjustments
- Third-party apps like Cursorcerer allow temporary cursor tweaks without overlays
- Mousecape continues to lead due to its creative flexibility, wide user community, and open-source accessibility for Mac customization enthusiasts.
Conclusion
Resetting your macOS cursor after using Mousecape is simple with the right methods. Whether through the app’s built-in options, manual settings adjustments, or full app removal, users can return to the clean Apple cursor experience quickly. Keeping best practices in mind ensures future customizations stay enjoyable and stress-free.