
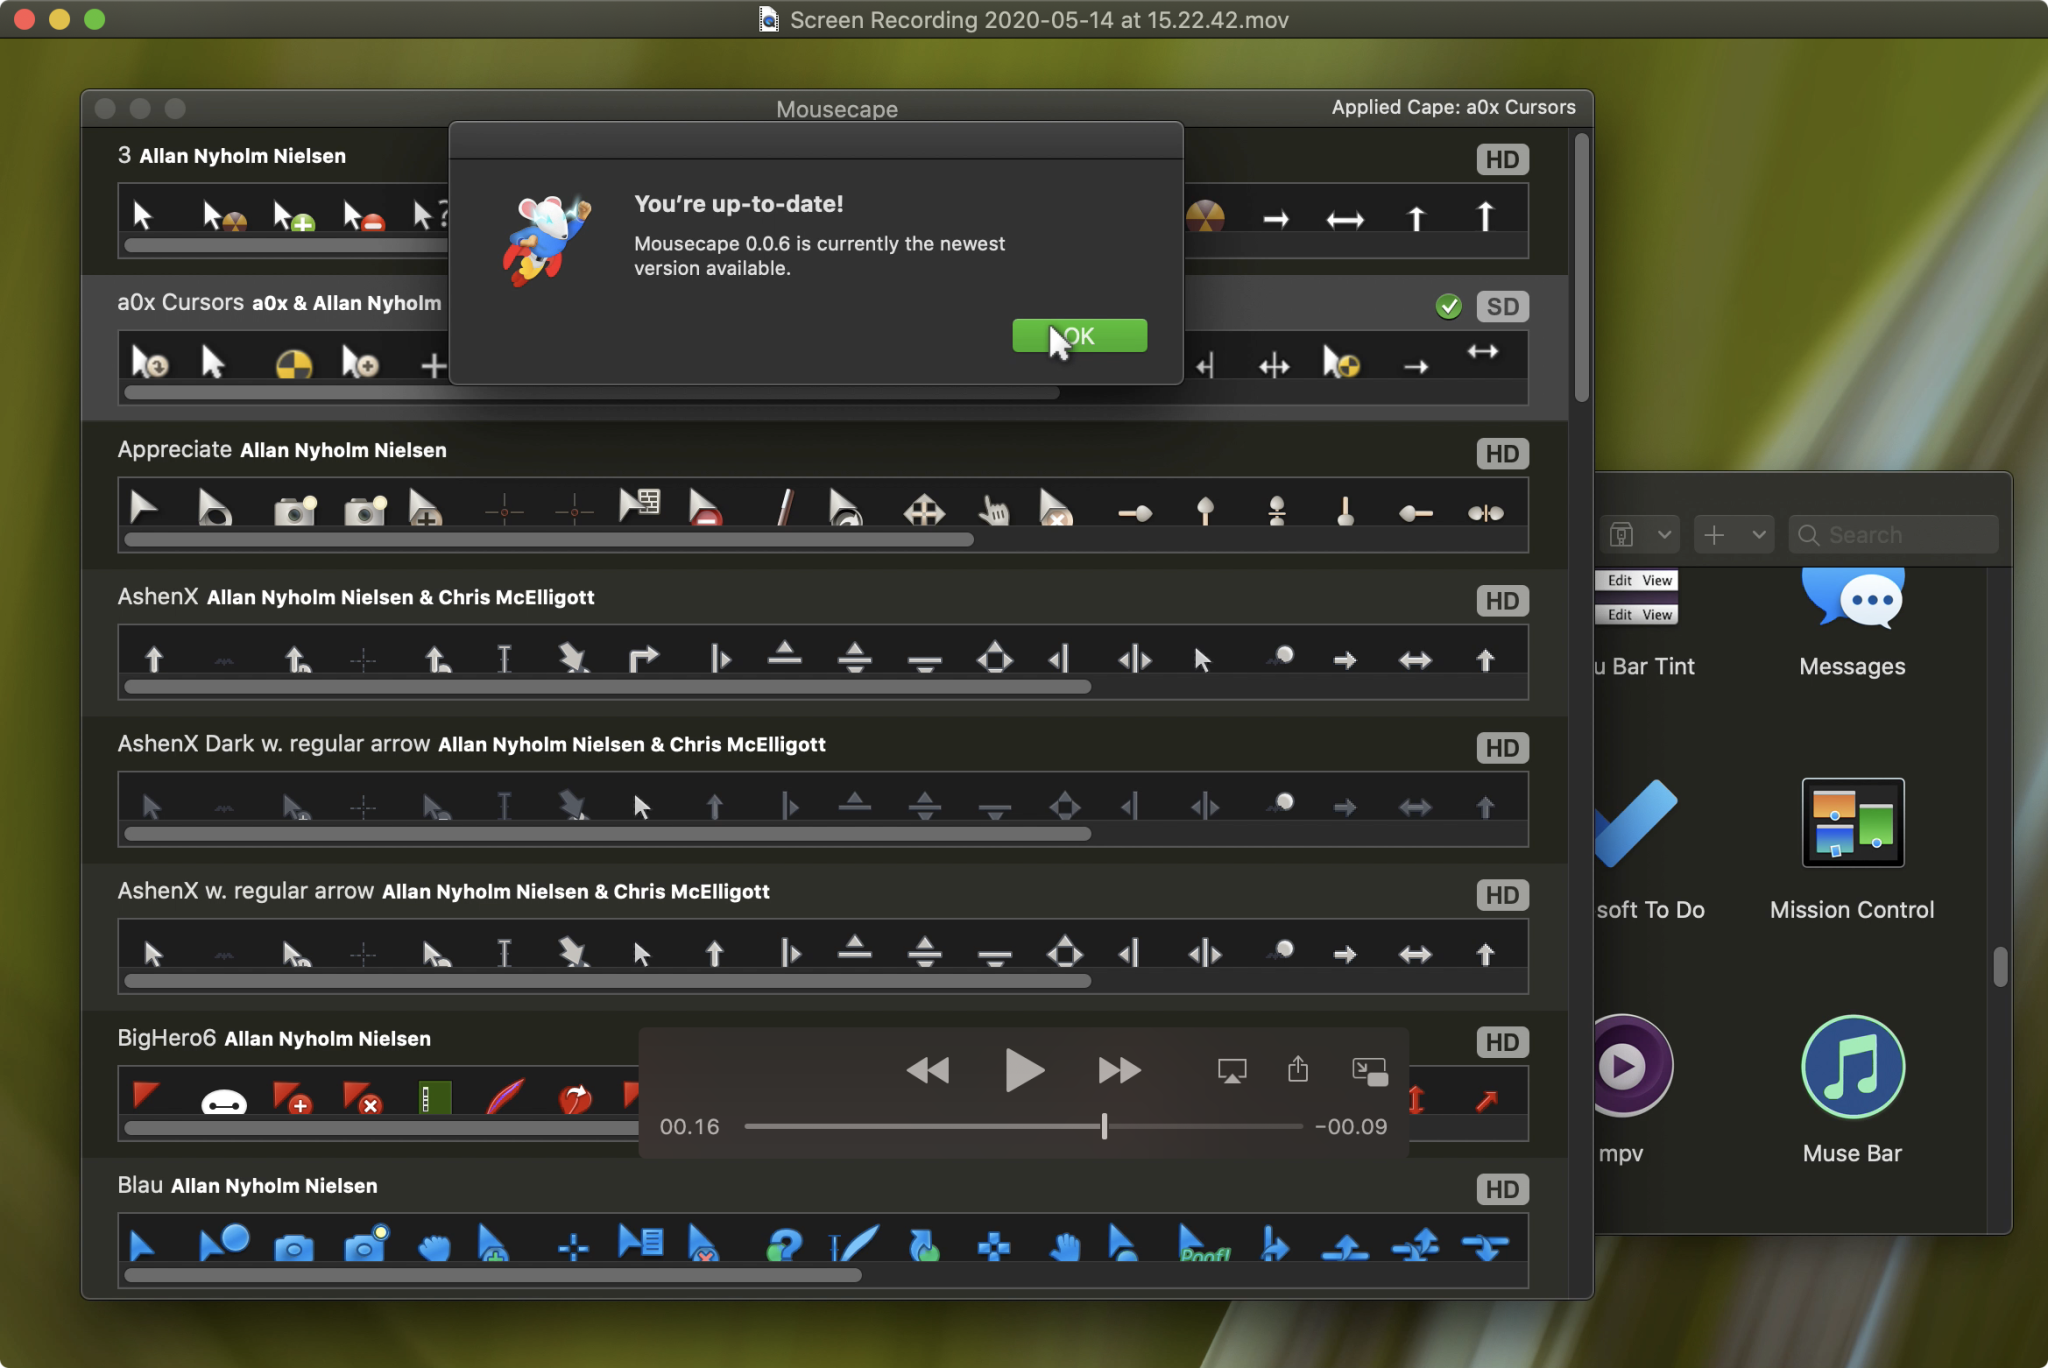
Mousecape is a powerful, free tool designed specifically for macOS users who want to customize their system’s mouse cursor. It provides the ability to change the appearance of the default macOS cursor by applying unique and personalized designs known as capes. These capes transform the standard macOS cursor into something more visually appealing or functionally suitable for the user’s needs.
This article offers a detailed, step-by-step guide to help users install a cape in Mousecape efficiently. From understanding what Mousecape is, where to find quality capes, to troubleshooting common issues, this guide aims to cover every aspect of the installation process with SEO optimization in mind.
What Is Mousecape?
Brief History and Purpose of Mousecape
Mousecape has been a favored macOS tool within the customization community for years. Originally developed to address the lack of cursor customization options on macOS, Mousecape fills a significant gap by offering freedom and flexibility over the system cursor’s design.
Main Features of Mousecape
Mousecape allows users to create, apply, and manage custom cursor sets with ease. The application supports importing .cape files, previewing cursor designs, and switching between multiple cursor sets effortlessly. It integrates well with macOS’s accessibility features, making cursor visibility improvements a practical use case alongside aesthetic changes.
Benefits of Using Mousecape on macOS
- Enhances the user experience by breaking away from Apple’s default cursor style
- Supports creativity through endless customization possibilities
- Improves accessibility for users who require larger or more distinctive cursors
- Encourages community sharing through exportable .cape files
What Is a Cape in Mousecape?
Understanding the Concept of a Cape
A cape in Mousecape represents a collection of images used to replace the macOS cursor. These files define each cursor state, such as the pointer, text selector, loading icon, and more, ensuring a complete visual overhaul of the system’s cursors.
Difference Between a Cape and Other Cursor Sets
Unlike generic cursor packs for Windows, a cape in Mousecape is designed specifically for macOS’s system structure. It integrates directly through Mousecape’s interface, offering seamless switching and management without the need for complex installation processes or third-party tools beyond Mousecape itself.
- Popular Examples of Capes
- Retro-style pixel cursors
- Gaming-themed cursors mimicking popular game icons
- High-contrast cursors for improved visibility
- Minimalistic cursors for modern desktop setups
These designs reflect various user interests and help individuals craft a user interface experience that feels uniquely theirs.
Why You Might Want to Install a Cape
Personalizing Your macOS Environment
Installing a cape transforms your Mac’s appearance instantly. It adds a touch of personality to everyday computing tasks, making your macOS experience feel tailored to your tastes.
Aesthetic Appeal and Creative Expression
Gamers, designers, and enthusiasts often look for ways to infuse their devices with personality. Installing a cape provides a visual refresh that aligns with the user’s broader aesthetic preferences, whether minimalist, playful, or highly artistic.
Improving Accessibility with Custom Capes
Some users need larger, bolder, or differently colored cursors for visibility reasons. Mousecape allows these customizations, making the Mac more accessible to users with visual impairments.
Preparing for Installation of a Mousecape Cape
Checking macOS Compatibility
Ensure your macOS version supports the latest version of Mousecape. While Mousecape typically maintains compatibility with newer macOS updates, verifying this on the official website prevents potential issues during installation.
Downloading Mousecape Securely
Download Mousecape directly from the official website at https://mousecape.com/. Avoid downloading from unofficial third-party sources to maintain system security and ensure you receive the latest, stable version.
Granting Required macOS Permissions
- Navigate to System Preferences > Security & Privacy > Accessibility
- Ensure Mousecape is checked under the Accessibility permissions.
- These permissions allow Mousecape to apply capes system-wide without interference.
- Proper permissions are essential for a seamless experience when changing cursors.
Where to Find Mousecape Capes
Official Mousecape Website Resources
The official Mousecape site occasionally features curated capes or links to resources where users can find quality cursor designs.
Community Forums and Repositories
Platforms such as GitHub host numerous community-created capes. These repositories offer a variety of cursor sets catering to both aesthetic and functional needs.
DeviantArt also features creative cursor designs shared by artists specifically for Mousecape users.
Trusted Sources for Downloading .Cape Files
Always verify the authenticity and safety of downloaded .cape files by sourcing them from reputable creators or recognized community forums to avoid potential issues with corrupted or malicious files.
How to Install a Cape in Mousecape
Step 1: Open the Mousecape Application
Launch the Mousecape app on your Mac. If this is the first time opening it, ensure it has the required permissions in Accessibility as previously outlined.
Step 2: Locate or Download Your Desired .Cape File
Find a .cape file that suits your design preferences. Download the file to a known location on your computer, such as the Downloads folder or Desktop, for easy access.
Step 3: Import the .Cape File into Mousecape
Two simple methods exist to import the file:
Double-click the .cape file to automatically open and import it into Mousecape
Alternatively, open Mousecape, go to File > Import Cape, then select the downloaded .cape file manually
Both methods achieve the same result and will add the new cape to your collection within the Mousecape app.
Step 4: Select the Installed Cape in the Mousecape Window
Inside the Mousecape interface, you will see a list of available capes. Click on the newly imported cape to highlight it. Ensure it is selected properly before proceeding.
Step 5: Apply the Cape
With your chosen cape selected, click on the “Apply Cape” button within the Mousecape app. This action instantly updates your macOS cursor to the new design, providing immediate visual feedback.
Step 6: Confirm Cursor Changes
Move your cursor across the screen to verify that the new cape is active. Check different cursor states (pointer, loading, text selector) to ensure the cape has been applied fully.
Optional Step: Restart Your Mac
In some cases, changes may not take effect immediately or may partially apply. Restarting your Mac helps finalize the cursor switch and eliminates any minor glitches.
Screenshots or step-by-step images can enhance understanding at this stage for visual learners.
Common Issues and Troubleshooting with Mousecape
Cursor Not Changing After Applying Cape
Ensure Mousecape has the necessary Accessibility permissions. Reapply the cape and, if necessary, restart your Mac to refresh the cursor settings fully.
Permission Errors on macOS
Revisit System Preferences > Security & Privacy > Accessibility and confirm Mousecape is properly checked. macOS updates may reset these permissions unexpectedly.
How to Revert to the Default Cursor
- Open Mousecape
- Select the currently active cape
- Click “Remove Cape” to revert to the macOS default cursor instantly
Compatibility Notes for macOS Versions
Certain macOS updates may temporarily disrupt Mousecape’s functionality. Always download the latest Mousecape version compatible with your macOS to ensure continued performance.
Tips for Managing Your Mousecape Capes
Organizing Your Cape Collection
Store your .cape files in clearly labeled folders categorized by design style, theme, or use case for quick access when switching between different cursor sets.
Exporting or Sharing Custom Capes
Mousecape allows exporting any cape into a .cape file through the app’s menu. Share these files with friends, online communities, or upload them to repositories like GitHub.
Creating Backup Copies of Your Capes
Keep backups of your favorite .cape files in cloud storage or external drives. This practice protects your collection from data loss or accidental deletion.
Conclusion
Mousecape offers macOS users unparalleled freedom to personalize their cursors with unique designs. The process of downloading, installing, and managing capes is straightforward with proper guidance. Whether enhancing accessibility, expressing creativity, or refreshing your macOS interface, Mousecape provides an effective solution for cursor customization.